Showing posts with label Tutorials. Show all posts

Tuesday, February 7, 2012

Tutorial Tuesday: DIY Drink Caddy for Stroller

So I thought I would start my first (of many to come) tutorial Tuesday with a nice, easy, quick, useful project!

I own a Phil & Ted stroller that I love.  We use it as our second car - we bought it because it is a compact double stroller that easily fits on the bus.  However one of the disadvantages to it being a compact stroller is that is lacks simple luxuries such as cup holders.  I've looked at several different attachable cup holders however they seem to be expensive for what they are and I would have to take them off when folding my buggy for storage.  While pinning the other day I came across a tutorial for a fabric cup holder found on the blog Sew Can Do and I was able to whip this up the other day during nap time.


Supplies:
Fabric, Scissors/Rotary Cutter, Ruler, Cutting Mat, Pins, Sewing Machine, Snaps, Round Tracer


Step 1: Cut Fabric
  • For the body two rectangles 12inches x 7inches
  • For the bottom two circles with a diameter of 3.8 inches (I traced a bowl with this measurement)
  • For the strap one rectangle 9inches x 7inches


Step 2: Sew the Body

Fold the body piece in half lengthwise - good sides facing (so it measures 6inches x 7inches) and sew up the 7inch side with a 0.5 seam allowance.  Iron open the seams.

Pin circle to the bottom of the (now) cylindrical body piece - good sides facing. 
Attach using 0.5inch seam allowance.  Trim seam and zig-zag stitch to prevent fraying.  Fold over top edge 0.5 inches.  Pin and iron.  Repeat step two with outer body pieces.  At the end of step two you should have to cylinders with bottoms. 
Step 3:  Assemble the body

Place lining sleeve inside outer sleeve with wrong sides facing, matching seams.  Pin along top edge.


Step 4: Sew Strap

Fold strap piece lengthwise with good sides facing (you should have a rectangle measuring 9inches x 3.5inches).  Sew along long edge and one short edge using a 0.5inch seam allowance.  Trim edges and zig-zag stitch to prevent fraying.

Turn strap right-side out.  Iron edges flat.  Top-stitch around full rectangle. 

Step 5:  Attach Strap to Body

Sandwich strap between the inner and outer layers of the body cylinder.
Top stitch around top edge.  Sew strap area several times to ensure it is secure.


Step 6:  Attach Snaps to Strap

For this step I used my Kam-Snap hand pliers and plastic snaps.  You should probably use more durable snaps but I have an abundance of these snaps so if it comes apart I will just replace. 


And just like that you are finished.  No more spilt drinks in the bottom basket of your buggy!


Friday, September 30, 2011

An Animated Photo

So once again it has been an immensely long time since I have made a post.  This time I will not promise that I will post soon so that I will not have to break my promise. 

My sister is a wedding photographer (and all other things photographer as well) and the other day she sent me a link to a 'stop motion' video that a different photographer had done.  It was really neat and she was interested in doing something of the like.  Click HERE to see the video that she sent me. 

This got me thinking that I had seen something quite similar before but on a much smaller scale.  I checked the blogs that I follow and low and behold I found a tutorial on how to create an animated picture.  The tutorial for this technique can be found HERE at Make It, Love It - an amazing blog with tons of DIY ideas. 

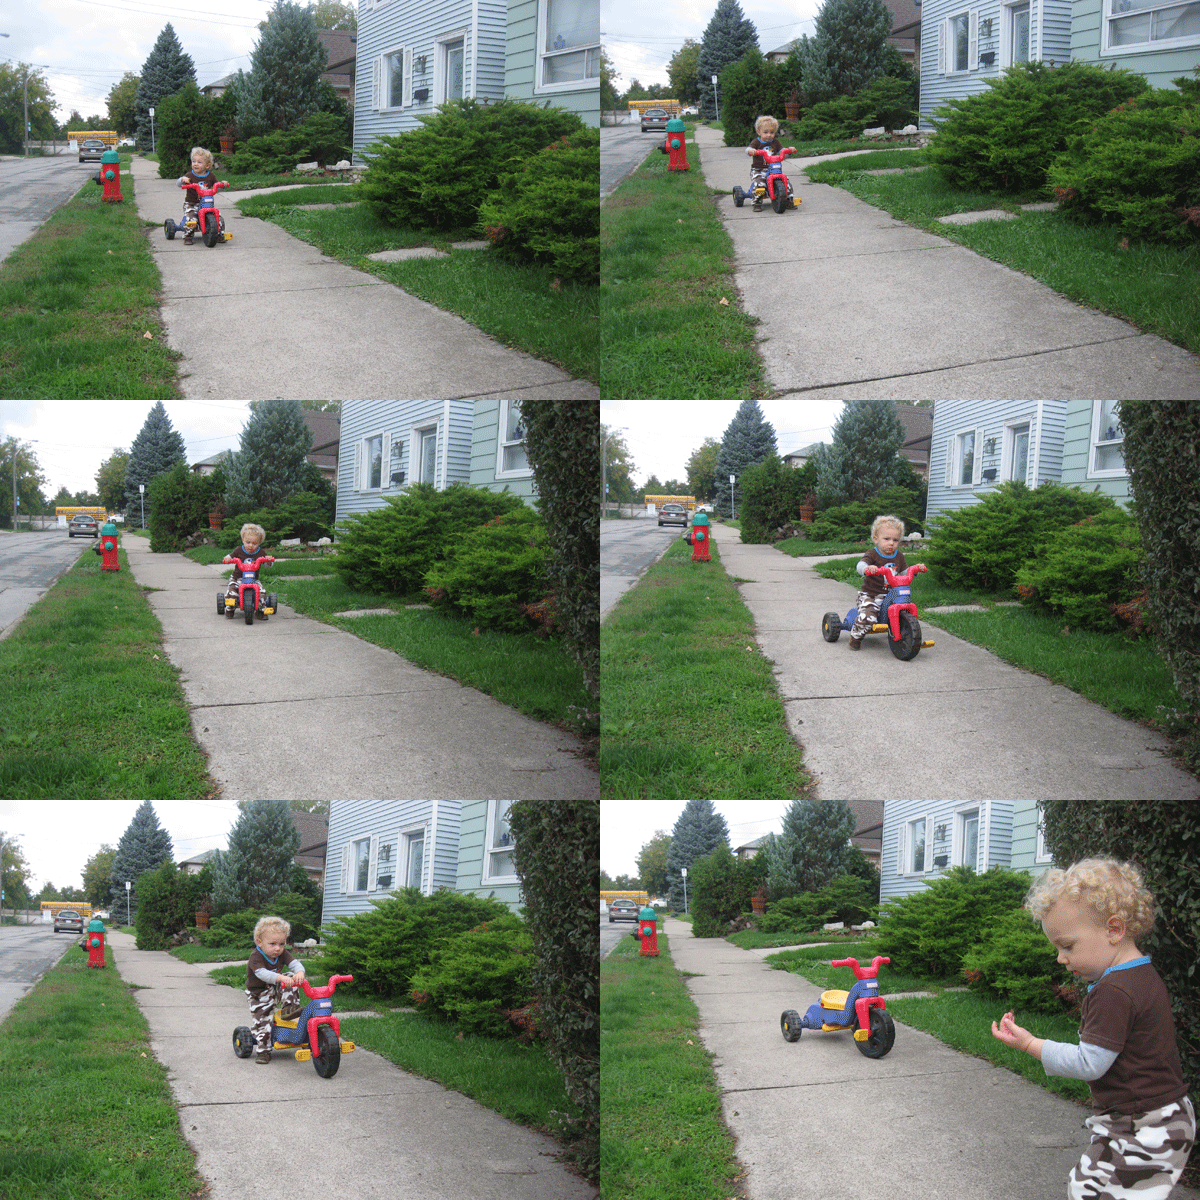
I thought I would try it out so Jude and I went outside for a photo shoot today and this is what we came up with: 


Hope you enjoyed the picture!  The task for next time is to figure out how to add music!

Wednesday, July 27, 2011

Yes I am still alive!!!!

It has been 3 months since my last post, I am failing horribly on my pledge to post consistently!  What have I been doing in that time?  Tons of stuff!  It has been a great summer so far full of traveling, wading pools, splash pads, finger painting, park visits and many more exciting things!  Here is a picture of my munchkin and I chilling in the back yard.  My is he growing!


I haven't had much time in the last 3 months for sewing but just recently I picked up a new technique known as shirring.  A good tutorial for this technique can be found at 'Ruffles And Stuff'.  There are many shirring tutorials out there and if this one doesn't help you just google the technique and try a different site.

Every sewing machine is a little different in how it responds to the elastic bobbin thread.  I found with my machine (Omega) I had to loosen off the tension screw on the bobbin case just a wee bit as originally it was pulling the elastic too tight and the backstitching was not able to hold the elastic thread.  Good luck!
Bobbin Case


I was quite excited to try out shirring on an actual project.  See below for a picture of a couple of children's dress I made.  I think that they turned out so well that I might try to make one in my size, it will be able to grow along with my growing belly!


The inspiration for these dresses was found at Sew Mama Sew!  Because of the shirring technique used in these dresses they will fit a child for years!  For wee ones the straps can be crossed in the back before they are tied and as the child grows it can eventually be worn as a top with pants or tights. 
If you are interested in ordering one of these dresses please contact me here or check out my limited stock at Little Bird Consignment Shop on Ottawa Street in Hamilton, Ontario.

Hopefully I will post again soon!  I am currently working on some new aprons for Little Bird so I will get some pictures up as soon as they are finished!

Monday, April 4, 2011

Make it Monday - A 'Super" Outfit!

So this is a little late but it is still Monday!  This weekend we had some unexpected events which left our home smelling of sewage and our sinks unable to empty, and on top of everything our little boy is teething and decided that 4:30am would be an appropriate time to start the day.  But I felt that I could not miss my very first day of my blogging schedule so here we go...

For my premiere tutorial I will be showing you how to make a little super hero outfit.  Today I will show you how to applique and tomorrow we will add a cape.  Techniques that will be used are; making and applying appliques, buttons and button holes.

To complete parts 1 and 2 of this tutorial you will need the following items:

- 1 onesie
- fusible webbing
- light interfacing
- material for cape
- material for superhero symbol
- 3 to 5 buttons or snaps

First decide on a superhero symbol.  There are many tried and true superheros out there or you can create your own.  For today's example we will be using batman.


When we are finished the applique process the shirt will look like this:


Step 1:  Trace superhero symbol onto card stock and cutout.


Step 2:  Trace logo onto paper side of fusible webbing.  Remember if the symbol is not symmetrical then make sure you are tracing the reverse of the image onto the paper.  Iron fusible webbing onto fabric.  Cut out symbol.


Turn shirt inside-out and reinforce the area where the symbol will be sewn by applying interfacing.


Turn shirt rightside-out and iron symbol to interfaced area. 


After symbol has cooled zig-zag stitch around the edges.


And there we have a superhero symbol on a onesie.

Come back tomorrow and we will add the detachable cape!

Thursday, March 17, 2011

How to tie a bow tie

I've been meaning to do a post about tying bow ties but it kept slipping my mind until today my little guy finally tugged on his just right and it came undone.

Like most people in my generation I turned to the all knowing Internet to learn how to tie my first bona fide tie.  I found countless instructional pdfs. and videos, not many of which seemed very helpful.  I remember the writer of one of the tutorials wrote that to tie her first bow tie it took her two hours of gleaning over several youtube videos and a beer and she was pretty sure that it was the beer that finally allowed her to tie the bow tie.  While I did not resort to beer I did spend about an hour trying to tie my first tie and I finally resorted to enlisting the help of my husband, but let me tell you it was well worth it.

I hope to one day create my own bow tie tying video but until then here is one that I found helpful:


Here's to hoping you have happy tying and get it right the 1st, 2nd, 3rd or even 10th attempt.  As a word of encouragement, it gets easier!  I can now tie a bow tie without the instructional video in under a minute and I think to myself how in the world was this so hard before?