Tuesday, February 21, 2012

Happy Birthday to Me!

9th Birthday Cake  Clip Art

No its not my birthday just yet, but I am excited to say that I have decided on what I want for my birthday this year!

I want the ladies in my family to run a 5km race - doesn't that sound like fun? 

You may think this is a bizarre request but let me give you some history on it.  After Christmas in 2010 I proposed to my immediate family that maybe we could, going forward, tone down the money spending at Christmas in hopes of focusing more on the true meaning of Christmas (celebrating Christ not celebrating each other), however on the flip side they could (if they so choose) go hog wild for birthdays.

I decided that for my birthdays going forward I would like to do something special every year, something new that I had never done before and that I would drag the other ladies with me.  So last year we went to the Marilyn Denis Show in Toronto. 


Here we are at the Marilyn Denis Show last May in celebration of my birthday.  My sister-in-law was unable to attend so my cousin Rebekah gladly stepped in to take her place.
Left to Right:  Mom, Me, Cousin Rebekah, Marilyn Denis, Sister Heather


Last week I phoned my mom to tell her my great idea of training and running a 5km together in celebration of my birthday and she responded with something akin to "are you crazy - I'm not doing that!".  When I talked to my sister I was met with a small amount of resistance but by the end of the chat she was 95% convinced.  By time I spoke to my sister-in-law she had already heard the rumors and didn't require any convincing at all!  I am happy to say that everyone has come around and as long as we can find a race we can all run in then my birthday wish will come true!


We have decided to train for the race using the "Couch to 5km" method which can be found here.  It consists of three workouts a week for 9 weeks - starting off very slow with a gradual build. 


The Couch-to-5K ® Running Plan

My hopes is that we all get a little healthier from this endevour!


Anyway I am off to buy some new shoes - can't start off on the wrong foot with my old ratty runners!


Saturday, February 11, 2012

Cooking with Jude - Little Apple Snacks

Today I have an extra special guest who will likely become a regular face on this blog!


Welcome Chef Jude!


Today Jude is making little Apple Snacks.  I found inspiration for this snack over at Happy Together - a great Mama Blog with lots of great tutorials.


Here is a picture of the finished product to entice you to continue on:


Doesn't it just look so cute and yummy?!


So simple to make - here is the stuff you will need:
The apple and the peanut butter are a must but after that you can get creative.  For our toppings we used granola, shredded coconut, and chocolate chips however you can use any sort of toppings you would like.  Some more suggestions would be dried fruit (raisins, cranberries, etc.), banana, mini M&Ms - whatever you would like. 

To start off, slice your apple into thin rounds.  Using a cooking cutter (or similar object) punch out the middle core section of the apple (this was chef Jude's favorite part).


Spread the peanut butter onto your apple slices and sprinkle on the toppings.


Put the apple "sandwich" together and enjoy!


I don't know what was enjoyed more - the apple snack or the chocolate chips?


Caught you!

Tuesday, February 7, 2012

Tutorial Tuesday: DIY Drink Caddy for Stroller

So I thought I would start my first (of many to come) tutorial Tuesday with a nice, easy, quick, useful project!

I own a Phil & Ted stroller that I love.  We use it as our second car - we bought it because it is a compact double stroller that easily fits on the bus.  However one of the disadvantages to it being a compact stroller is that is lacks simple luxuries such as cup holders.  I've looked at several different attachable cup holders however they seem to be expensive for what they are and I would have to take them off when folding my buggy for storage.  While pinning the other day I came across a tutorial for a fabric cup holder found on the blog Sew Can Do and I was able to whip this up the other day during nap time.


Supplies:
Fabric, Scissors/Rotary Cutter, Ruler, Cutting Mat, Pins, Sewing Machine, Snaps, Round Tracer


Step 1: Cut Fabric
  • For the body two rectangles 12inches x 7inches
  • For the bottom two circles with a diameter of 3.8 inches (I traced a bowl with this measurement)
  • For the strap one rectangle 9inches x 7inches


Step 2: Sew the Body

Fold the body piece in half lengthwise - good sides facing (so it measures 6inches x 7inches) and sew up the 7inch side with a 0.5 seam allowance.  Iron open the seams.

Pin circle to the bottom of the (now) cylindrical body piece - good sides facing. 
Attach using 0.5inch seam allowance.  Trim seam and zig-zag stitch to prevent fraying.  Fold over top edge 0.5 inches.  Pin and iron.  Repeat step two with outer body pieces.  At the end of step two you should have to cylinders with bottoms. 
Step 3:  Assemble the body

Place lining sleeve inside outer sleeve with wrong sides facing, matching seams.  Pin along top edge.


Step 4: Sew Strap

Fold strap piece lengthwise with good sides facing (you should have a rectangle measuring 9inches x 3.5inches).  Sew along long edge and one short edge using a 0.5inch seam allowance.  Trim edges and zig-zag stitch to prevent fraying.

Turn strap right-side out.  Iron edges flat.  Top-stitch around full rectangle. 

Step 5:  Attach Strap to Body

Sandwich strap between the inner and outer layers of the body cylinder.
Top stitch around top edge.  Sew strap area several times to ensure it is secure.


Step 6:  Attach Snaps to Strap

For this step I used my Kam-Snap hand pliers and plastic snaps.  You should probably use more durable snaps but I have an abundance of these snaps so if it comes apart I will just replace. 


And just like that you are finished.  No more spilt drinks in the bottom basket of your buggy!


Wednesday, December 7, 2011

A Second Late Night Shopping Event @ Little Bird on Ottawa St.

Come on out tonight and support the locals @ Little Bird on Ottawa Street, Hamilton Ontario.  There are some great sales on some fabulous locally made products as well as great quality consigned clothing (children's size newborn - 6), and the store will be open until 9pm!  In addition to the items posted in the previous entry I also have a couple aprons available.

Pretty in Pink (Size 2/3)

Christmas Spirit (Size 4/5)

lil' chef (cutie not included) - 2 available in store (size 4/5)
Drop on by Little Bird tonight - at the very least partake in the free cookies and coffee!

Monday, November 28, 2011

Check out the new items for sale @ Little Bird on Ottawa Street!!!

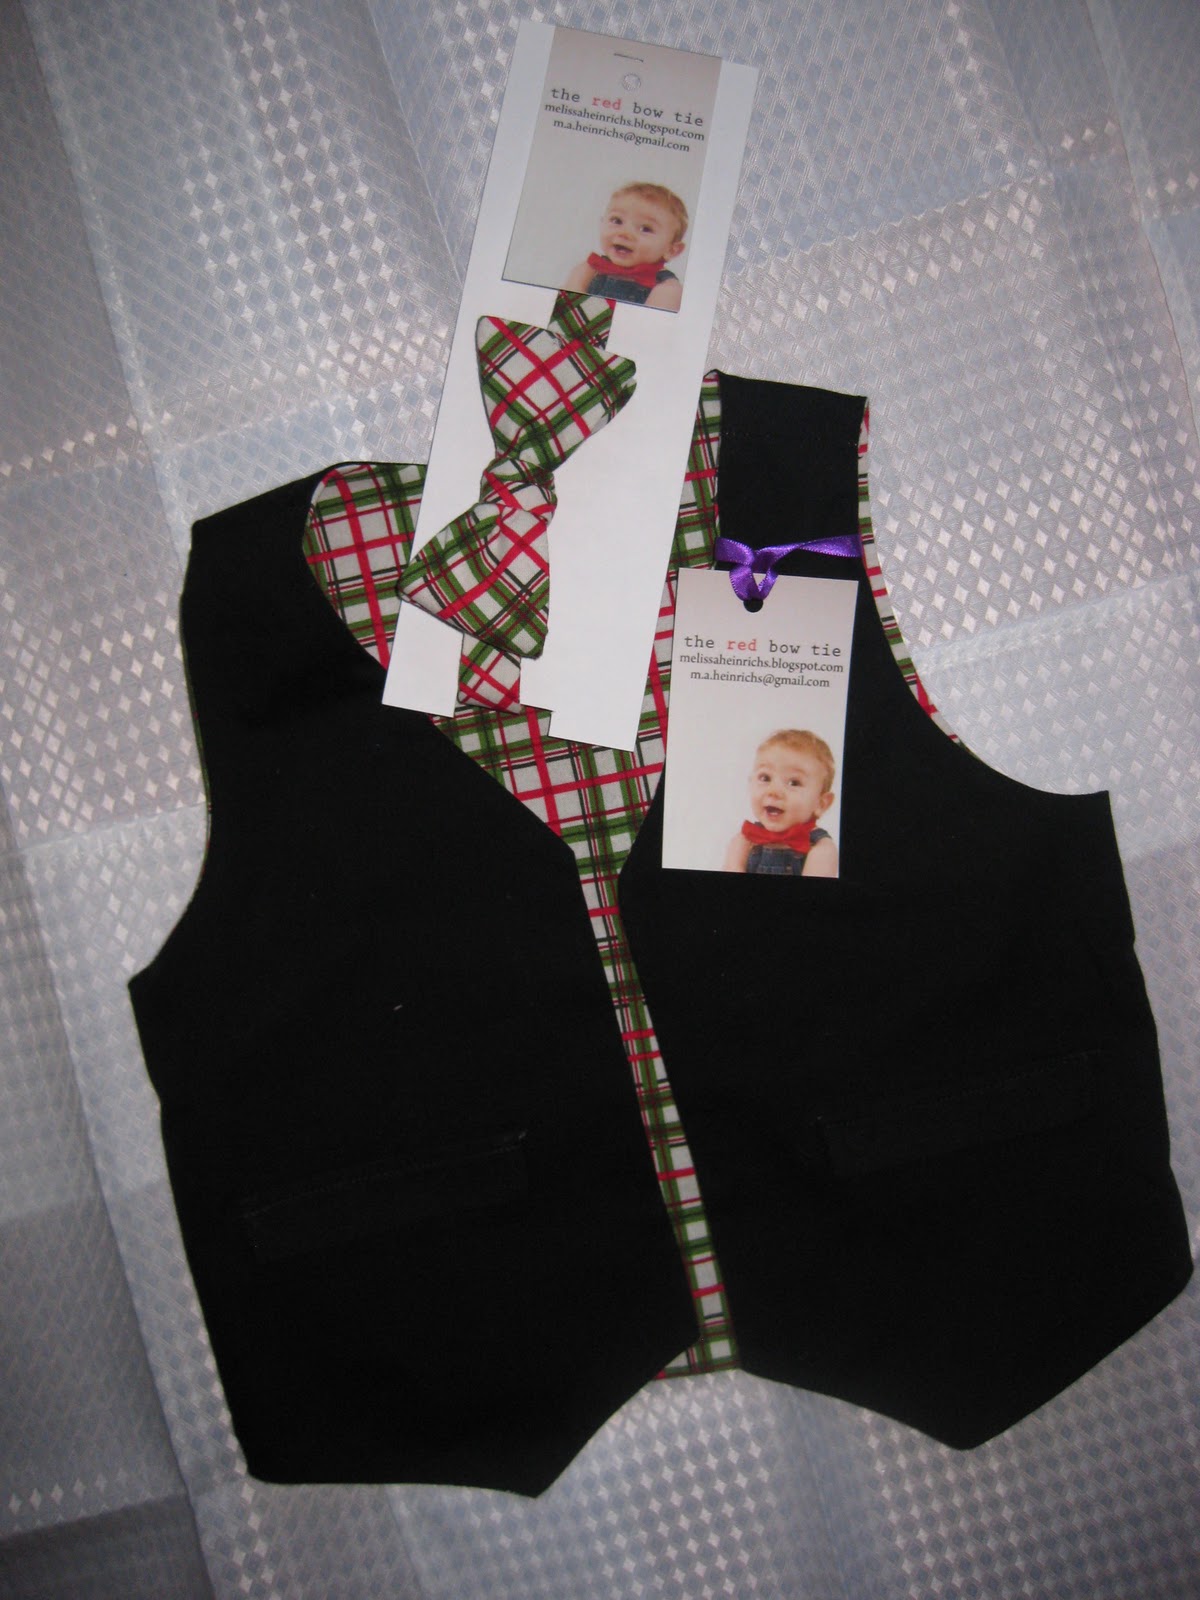
Thanks to everyone who stopped by the booth at the National Mom 2 Mom sale in Ancaster on November 19th!  Just thought I would post a little reminder of the items I have available.  These items are currently selling at Little Bird on Ottawa Street, however I am always open for custom orders which can be purchased from me directly.  I am currently out of little people aprons however I will hopefully get these restocked in the next couple of days, and when I do I will post updated pictures!

Super Hero Onesie (detachable cape)

Everyday Bow Ties (adjustable neck)

Co-ordinating bow tie and vest (vest is reversible)

Reversible Vest

Fleece lined newborn hat (0-3months) - modeled by Jude's shell-less turtle

Fleece lined newborn hat (0-3 months)

Decorative Diaper Covers (available in size newborn - 24 months)

Polar Fleece animal hats (available in size newborn - 6 years)

Christmas Bow Ties

Christmas Reversible Vest & Bow Tie set

Reversible Super Hero Cape.  Item pictured can be reversed so that it is a Superman costume or a Batman costume.  Cape fastens around waist so there is no neck tie choking hazard.  Cape fits up to size 6.


Come on out to Little Bird's late night shopping event this Wednesday from 5pm-9pm.  Grab some great deals on gently used children's clothing as well as quality locally made items.  All items pictured above will be for sale at the store.


Friday, September 30, 2011

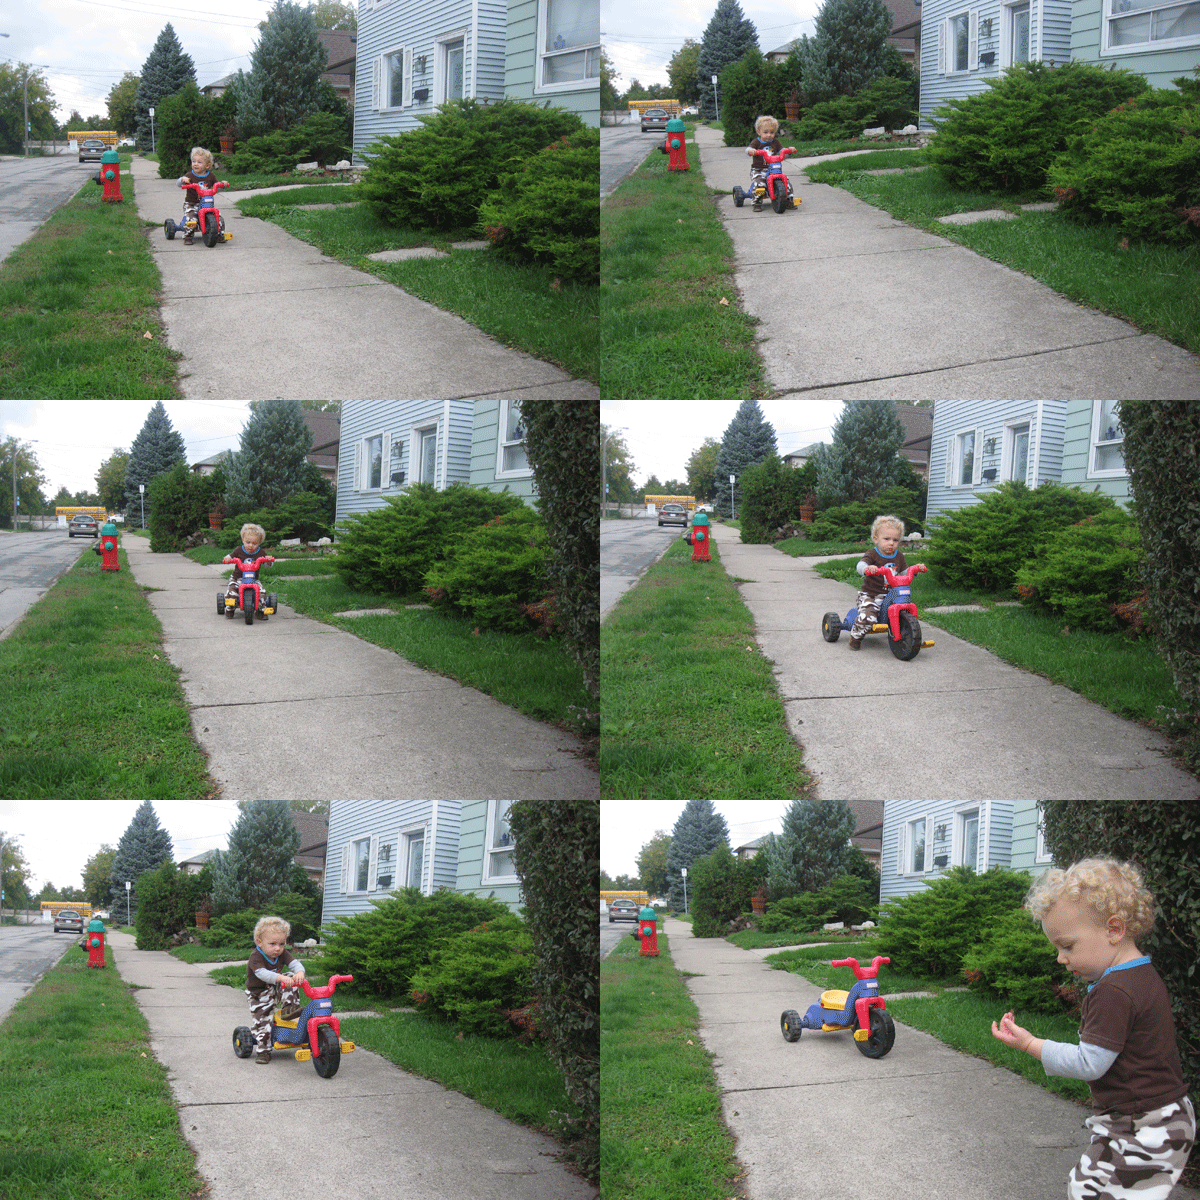
An Animated Photo

So once again it has been an immensely long time since I have made a post.  This time I will not promise that I will post soon so that I will not have to break my promise. 

My sister is a wedding photographer (and all other things photographer as well) and the other day she sent me a link to a 'stop motion' video that a different photographer had done.  It was really neat and she was interested in doing something of the like.  Click HERE to see the video that she sent me. 

This got me thinking that I had seen something quite similar before but on a much smaller scale.  I checked the blogs that I follow and low and behold I found a tutorial on how to create an animated picture.  The tutorial for this technique can be found HERE at Make It, Love It - an amazing blog with tons of DIY ideas. 

I thought I would try it out so Jude and I went outside for a photo shoot today and this is what we came up with: 


Hope you enjoyed the picture!  The task for next time is to figure out how to add music!

Wednesday, July 27, 2011

Yes I am still alive!!!!

It has been 3 months since my last post, I am failing horribly on my pledge to post consistently!  What have I been doing in that time?  Tons of stuff!  It has been a great summer so far full of traveling, wading pools, splash pads, finger painting, park visits and many more exciting things!  Here is a picture of my munchkin and I chilling in the back yard.  My is he growing!


I haven't had much time in the last 3 months for sewing but just recently I picked up a new technique known as shirring.  A good tutorial for this technique can be found at 'Ruffles And Stuff'.  There are many shirring tutorials out there and if this one doesn't help you just google the technique and try a different site.

Every sewing machine is a little different in how it responds to the elastic bobbin thread.  I found with my machine (Omega) I had to loosen off the tension screw on the bobbin case just a wee bit as originally it was pulling the elastic too tight and the backstitching was not able to hold the elastic thread.  Good luck!
Bobbin Case


I was quite excited to try out shirring on an actual project.  See below for a picture of a couple of children's dress I made.  I think that they turned out so well that I might try to make one in my size, it will be able to grow along with my growing belly!


The inspiration for these dresses was found at Sew Mama Sew!  Because of the shirring technique used in these dresses they will fit a child for years!  For wee ones the straps can be crossed in the back before they are tied and as the child grows it can eventually be worn as a top with pants or tights. 
If you are interested in ordering one of these dresses please contact me here or check out my limited stock at Little Bird Consignment Shop on Ottawa Street in Hamilton, Ontario.

Hopefully I will post again soon!  I am currently working on some new aprons for Little Bird so I will get some pictures up as soon as they are finished!